For anyone who's built their own boat....

quote:

Originally posted by Flutterby

Ain't she purdy!!!! Nice tow rig too. When my ship comes in, I'll be happy to take her off of your hands, LOL.


They're gutless on the highway Flutters but in low range they'll pull the Titanic up a boat ramp! [8D]

Got our boat ride in! :D

8516d633.jpg


We had a lil' fire on this boat year before last and that kinda set me back a bit on boating. That and we did a quite a few things with the car club last year. I was a little apprehensive about taking her out but had to do it sooner or later. Boat worked perfectly.

2ee45bb8.jpg


The one thing I'm going to miss going from this to a Trawler is the speed! :?

I apologize for the crappy pics but the Admiral was definitely enjoying herself. 8)

89b2cb68.jpg


eb6491dd.jpg


The CCGS Griffon docked in Prescott Ontario. I worked on her in the fall of '78 as a deckhand then went to College for Marine Engineering. I returned to the Griffon in the fall of 1980 as a Steward and stayed on her till 1985. During my time on her I went from Steward to Storekeeper to Supply Officer.

I think we're going to take a bit more of a break from the boat building, save some money (hopefully) and do a little more boating this summer. Will probably be back to the boat mid August or so.
 
quote:

Originally posted by Nautiville

Saving money by boating..... hmmm...... now there's a concept.


Yup. Believe it or not it's cheaper than building a boat. [:-spin]
 
I couldn't take a break from boat building for very long. It'll be murder to head out on the Rideau Canal for a week or ten days!

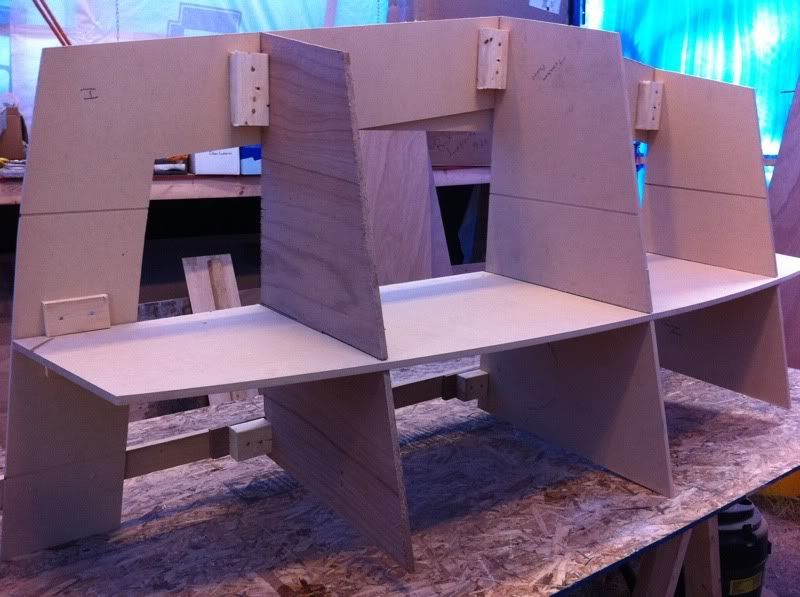
Anyhow, I've started to assemble the forms that will make up the strongback.

Transom form

a035393f.jpg


0380e66e.jpg


Forms E & F being glued up and G & H in the background already done. When it's finished it'll look like this.

jig_1.jpg


The large plywood parts I've already put together will be laid on the strongback and stitched with plastic (large) wire ties. Once the panels are all lined up the seams will be filled with thickened epoxy and fiberglass taped.

Still a long ways to go!
 
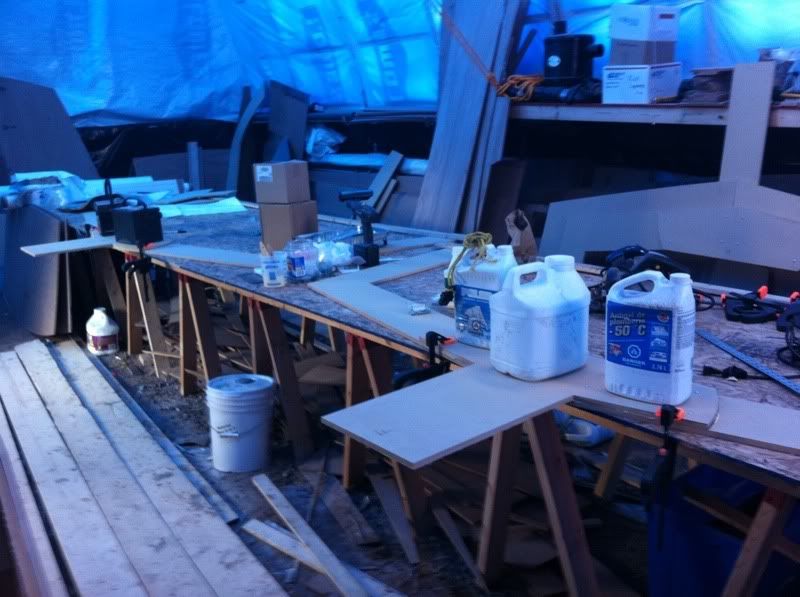
Interesting set of Kitchen Cabinet shelves you got laid out there. :)

Rick did you use a drawing program to make that sketch or copy n' paste?
I want to learn how to do those drawings.
 
The drawing of the strongback comes form the designers site. I'm nowhere near that talented even with AutoCad. My drafting teacher used to make me write X, Y & Z on my left thumb, index and middle finger so I could keep the three axis straight in my mind! *lol*

I used Google Sketchup for some drawings I've done. It's free and pretty good to learn on.

http://sketchup.google.com/download/

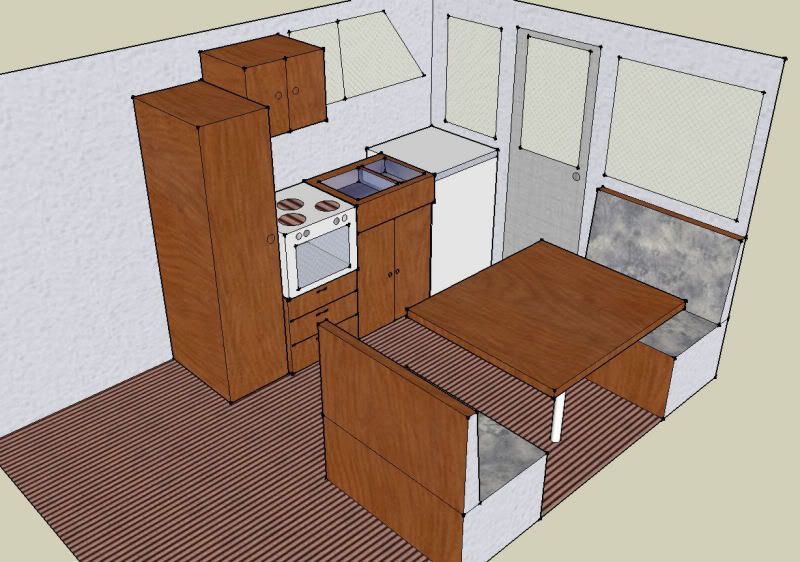
saloon4.jpg
 
Do you ever find yourself sitting in your workshop or boat or whatever just admiring your handiwork? I do that occasionally. I think it's just a guy thing. A couple hundred thousand years of evolution has programmed us to get an extreme sense of satisfaction from building things with our own two hands. Reminds me of one of my favorite quotes:

"He who works with his hands is a laborer. He who works with his hands and his head is a craftsman. He who works with his hands and his head and his heart is an artist." - St. Francis of Assis (1181-1226)

Anyhow, 'nuff of that naval gazin' stuff. This morning I got back to assembling the forms that'll go on the strongback. Three more done this morning, A, B & C. Only D and the duplicate F to do and they're done then I can seriously start thinking about setting up the strongback. I do have to decide if we're going to glass the cabin roof while the long table is set up. The only other thing that's standing in my way after that decision is made is to laminate the two transom panels.

Frame A gluing up.

1c8f110b.jpg


Same goes for frame D.

8639a486.jpg


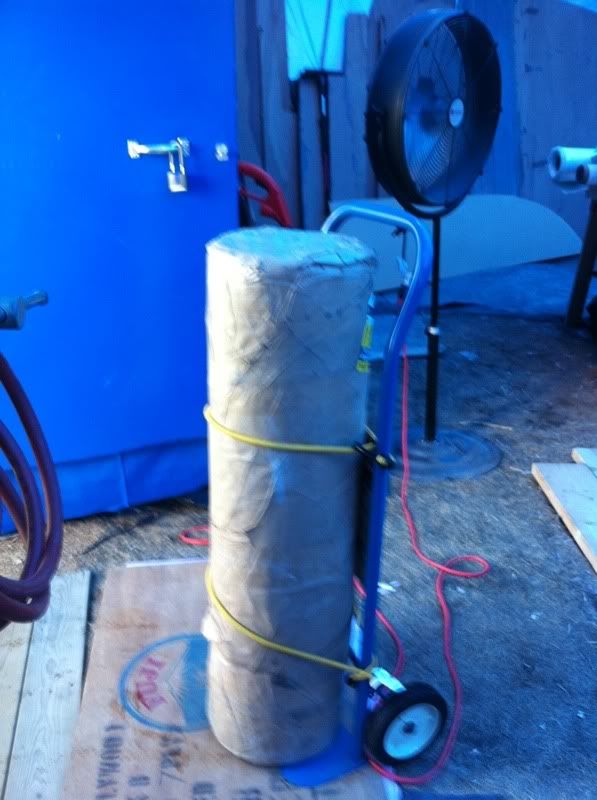
Picked up one of two rolls of fiberglass (1708 38" at bargain price) that'll be used to cover the bottom and side panels. I'm still looking for some double bias 10 oz. 0/90 in 50" width.

2ecebc3c.jpg


That's 'bout it for now. It's hotter 'n hell outside so I think a boat ride is in order. Have a good weekend.
 
"Give me a lever long enough and a fulcrum on which to place it, and I shall move the world." - Archimedes, Greek Mathematician, 287 - 212 BC

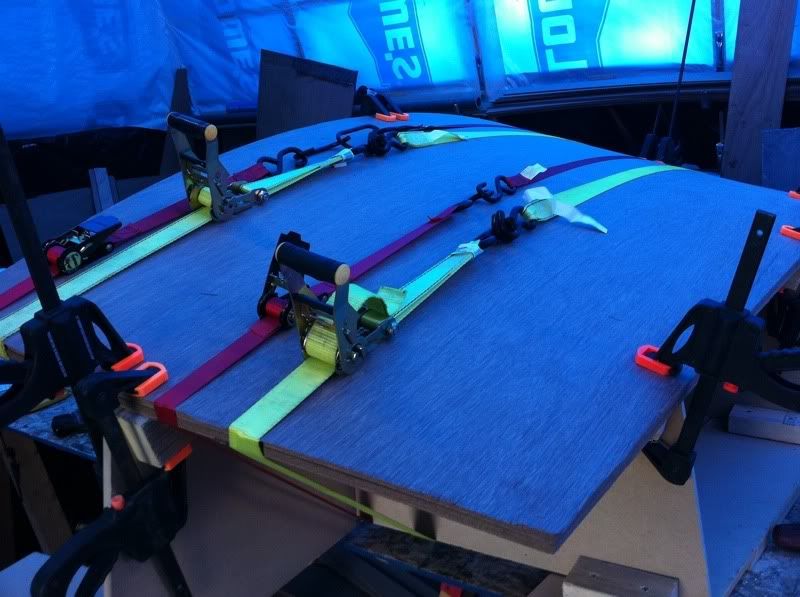
"Give me enough clamps and ratchet straps which to place on it, and I shall stop the world from moving." - Rick Laporte, Amateur Boat Builder, 1960 -

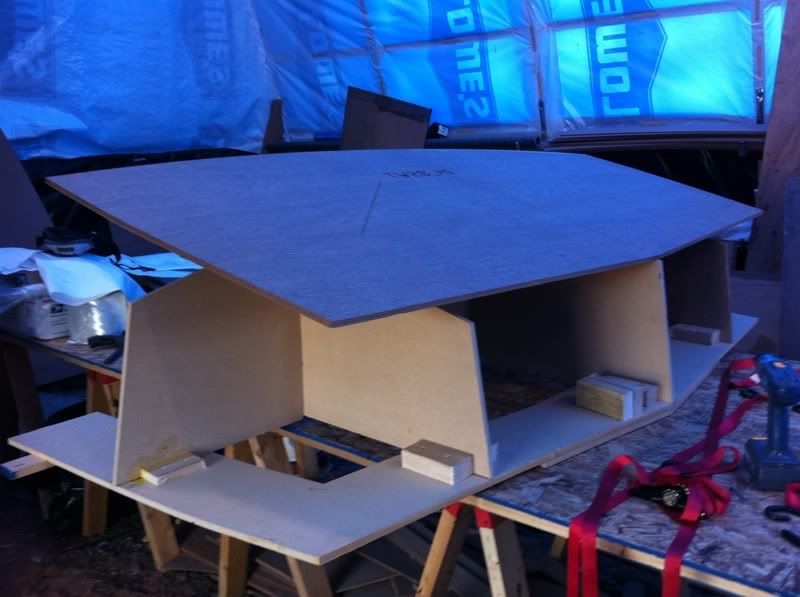
One of the more interesting challenges to this project is laminating two sheets of 1/2" marine plywood together to form the curved transom. That's the reason for the funky transom mold I showed you earlier.

54ad55e0.jpg


I tried a few different approaches to getting one sheet to conform to the mold. There's a tremendous amount of energy stored up in a sheet of plywood when you try to torture it into a shape it doesn't want to go into! I found that out when I tried to release the ratchet straps after the first trial! Yikes!

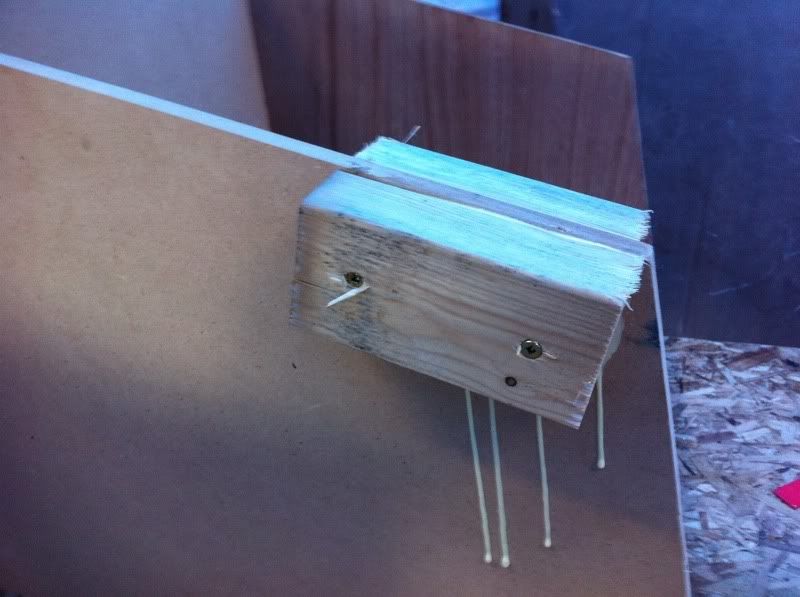
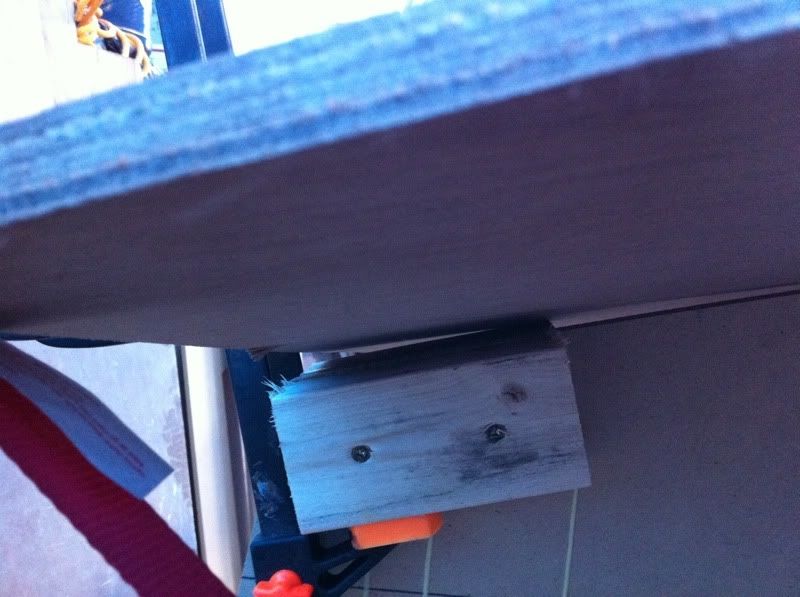
Anyhow, I quickly realized (in my dream last night, yeah exciting I know) that I need more grip to wrangle this part into shape. Adding some cleats in the right places are the ticket.

39e37e32.jpg


This gave me the advantage I was looking for. Places to put plenty of clamps.

0bc47412.jpg


As you can see the plywood now follows the mold pretty well. A few minor adjustments and it'll be perfect.

f3d8ff22.jpg


Some of the guys on the designers forums suggested adding kerfs to the sheets to allow them to bend easier. I never thought of that but it's a good idea, and probably safer too. I'll explore that later.

That's it for now. Off to clean up the old boat. Got a prospective buyer coming to look at it today. [:-bonc01]
 
that looks like a compound curve, very difficult and after you glue it up there will be a tremendous internal stress. IMO using more sheets of thinner ply would produce a better result and avoid creating voids with kerfs. Hasn’t anyone else built this and reported results??
 
You can do the curve in a couple of ways... 1. Use thinner sheets and laminate them together to the final thickness needed. 2. Take you circular saw and cut slots (kerf cuts) on the backside of the bend. 3. Wet the wood out fairly well with a hose. You can add some heat prior to bending, but typically wetting it out will be sufficient, then finally bend into shape.
 
It's a pretty simple curve actually. I've managed to get it into shape, both sheets, with brute force.

58e2cbb2.jpg


I don't think wetting this stuff will work very well, it's marine plywood and supposedly water resistant. I dunno. I'm probably going to kerf the backsides though. Just means I have to thicken the epoxy I'll glue it with.

There's been about 6 or 7 of these built and they've all used different techniques. Most resort to brute force as well.

I do agree, 4 thinner sheets would have been easier to work with but this is what the designer chose and was supplied with the kit. I don't really want to spend another $200 on 1/4" ply so I'll work with what I have.

No need to add heat today, it's almost 40 degs C (104 F) in the shed! ;-(

More later.
 
Heat it RIck.
PUt an Array of hi wattage lights on it and it's gonna bend and relax after awhile.
 
Thnx Thud

I think I might wet it down first then put the tyvek tent over it and put some heat to it. That should soften it up a bit.

Standby......
 
I tried heating it up. No affect. I'm going to give it the brute force approach after supper. It's still pretty warm in there so I hope the temp drops some.
 
i woudn't wet anything that will need to be glassed or epoxied later...

thinner sheets woudl have worked better but looks like you got it!

coming up to fixes to all those little (and not so little) is part of making boat building to much fun, isn't it? forces your brain to work all those issues.
 
if that thing came undone you would launch a clamp into orbit.
 
quote:

Originally posted by PascalG

coming up to fixes to all those little (and not so little) is part of making boat building to much fun, isn't it?


It really is a mental challenge sometimes. I even have a half dozen previous builds to follow and none of them were ever done the same way. That's the benefit to these forums.

quote:

Originally posted by PascalG

forces your brain to work all those issues.


That is assuming there's a brain left at this point! [:-boggled]

I started to catalogue all the design ideas we've collected for the boat. So far it looks like I'll have to build no less than 3 boats to fit them all in! [:-shake]

I chose the brute force method and we went ahead and glued the two sheets together last night. I'll pop it off the form tonight and we'll see what we get. I'm expecting some definite springback.

I've already launched a few clamps Cat! One of them couldn't take the strain and stripped itself. That's two I've destroyed so far on this project.
 
24 hours before I can pop it apart. It's been extremely warm lately so anything after 12 hours should be fine.
 
Back
Top