
You are using an out of date browser. It may not display this or other websites correctly.
You should upgrade or use an alternative browser.
You should upgrade or use an alternative browser.
For anyone who's built their own boat....
- Thread starter KnottyBuoyz
- Start date
- Joined
- Mar 3, 2006
- RO Number
- 20406
- Messages
- 1,584
The Beaver sh!t yesterday (Gov't PayDay) so there was no boat buildin' goin' on. Instead I had to drag the ole' woman through a horrendous storm to get to a coffee sale at Giant Tiger store, getting my windshield smashed in the process! Well it wasn't that bad, a big stone chip is more like it!
Tonight I glued up my first bulkhead.
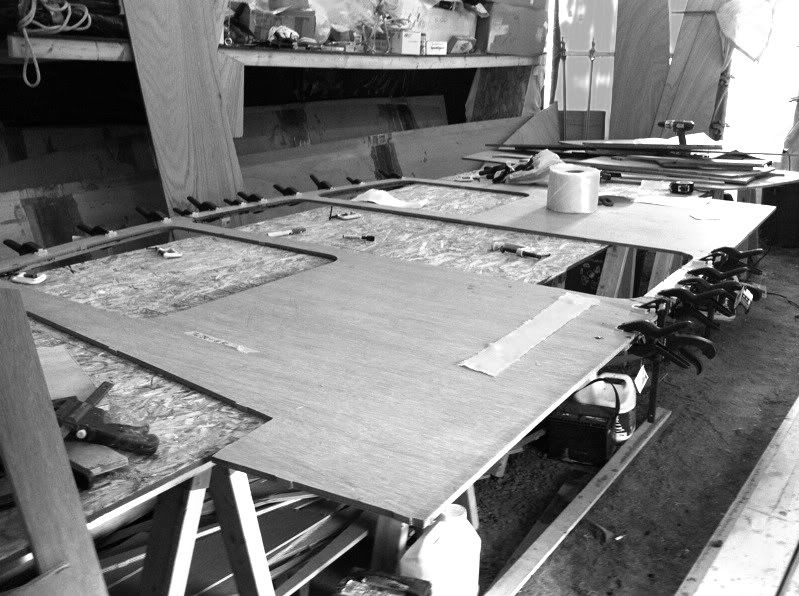
That's it. I know it's not exciting as some threads. It'll get better, I promise. Same thing tomorrow then I'll be able to do a few of the smaller frames.
Tonight I glued up my first bulkhead.
That's it. I know it's not exciting as some threads. It'll get better, I promise. Same thing tomorrow then I'll be able to do a few of the smaller frames.
- Joined
- Mar 3, 2006
- RO Number
- 20406
- Messages
- 1,584
Saturday morning in the boat shed was pretty productive. I got two of the main frames laid up and glued.
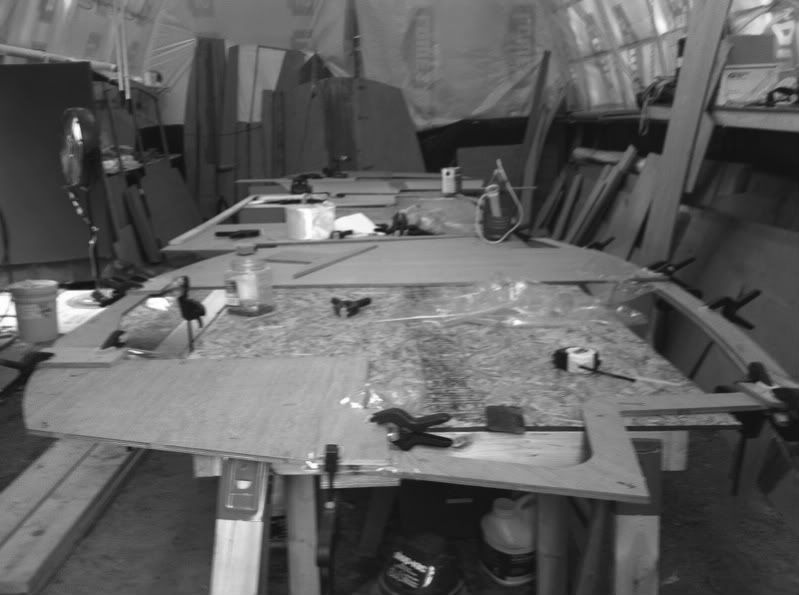
The one in the foreground is Frame C which forms the bulkhead between the v-berth and the head. The second one back is Frame F which is just behind the helm seating positions.

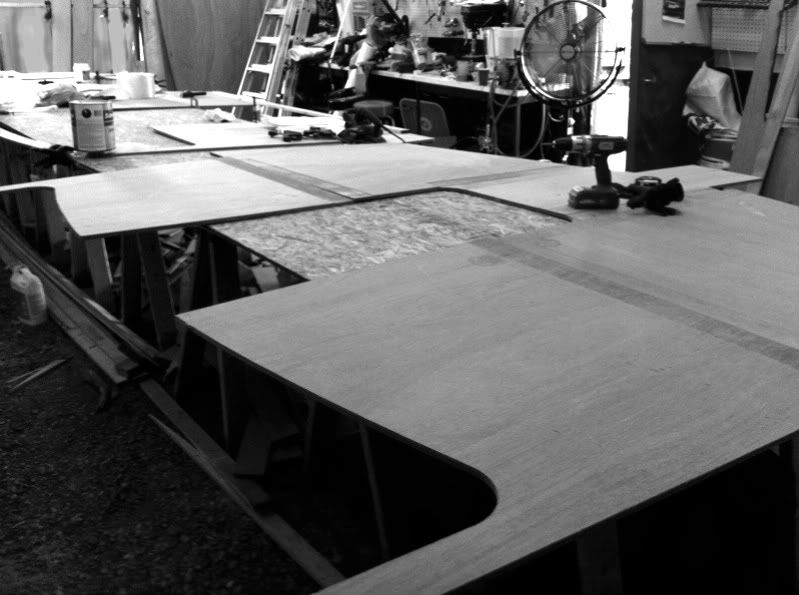
And waaaaaaaaaaaay down at the end is Frame E which forms the main cabin bulkhead forward just below the wind screens. E will be the biggest and hardest to handle. I have to do it in two parts and when finished it'll stretch from the bottom of the keel to the top of the cabin roof. This is Frame E. Not glued yet.
Back out to the shed this afternoon to see what else I can puddle away at.
The one in the foreground is Frame C which forms the bulkhead between the v-berth and the head. The second one back is Frame F which is just behind the helm seating positions.
And waaaaaaaaaaaay down at the end is Frame E which forms the main cabin bulkhead forward just below the wind screens. E will be the biggest and hardest to handle. I have to do it in two parts and when finished it'll stretch from the bottom of the keel to the top of the cabin roof. This is Frame E. Not glued yet.
Back out to the shed this afternoon to see what else I can puddle away at.
- Joined
- Mar 3, 2006
- RO Number
- 20406
- Messages
- 1,584
Saturday afternoon in the boat shed was sorta productive too. Some nice shiny bits showed up! I like shiny bits!
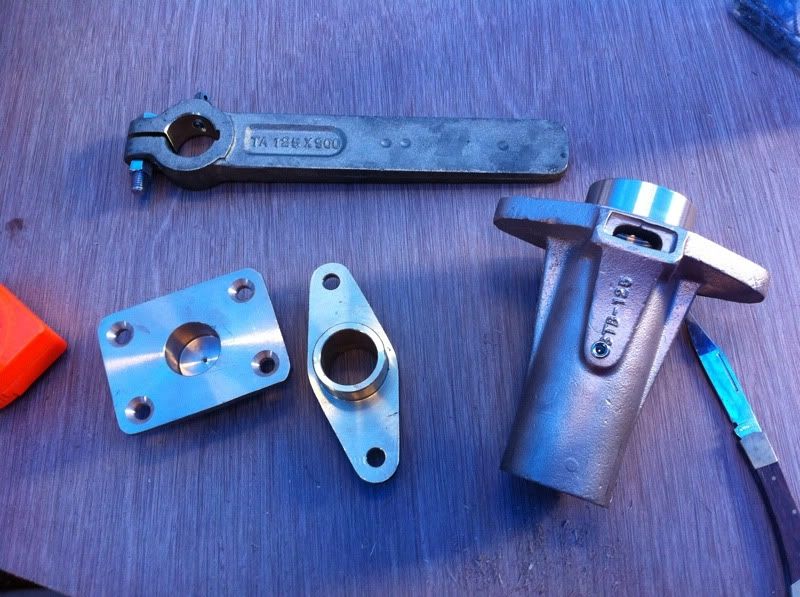
I have to say Mr. Yanmar makes a butt ugly control panel. I know I can do better. (that's the smartass in me coming out, cocky lil' pecker that I am!)
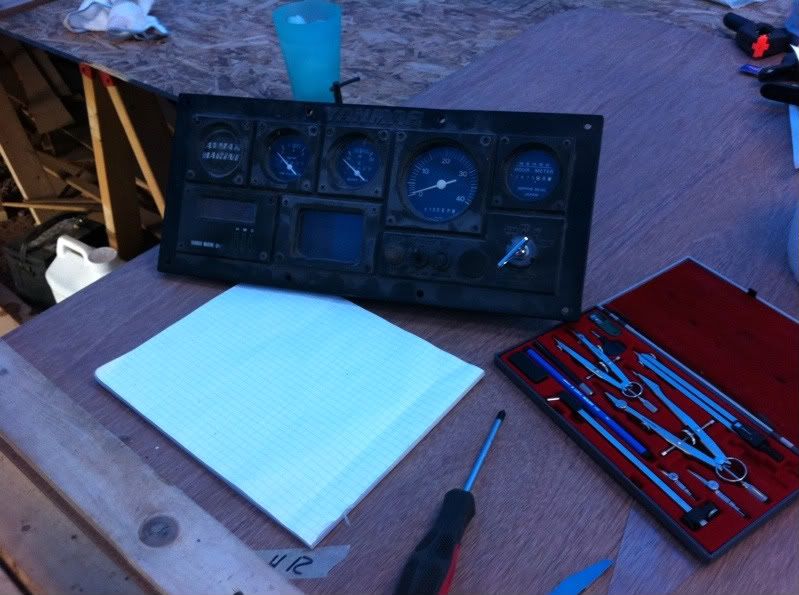
So after an hour of measurin' and figurin' and some more measurin' and then some drawin' I think I got it now.
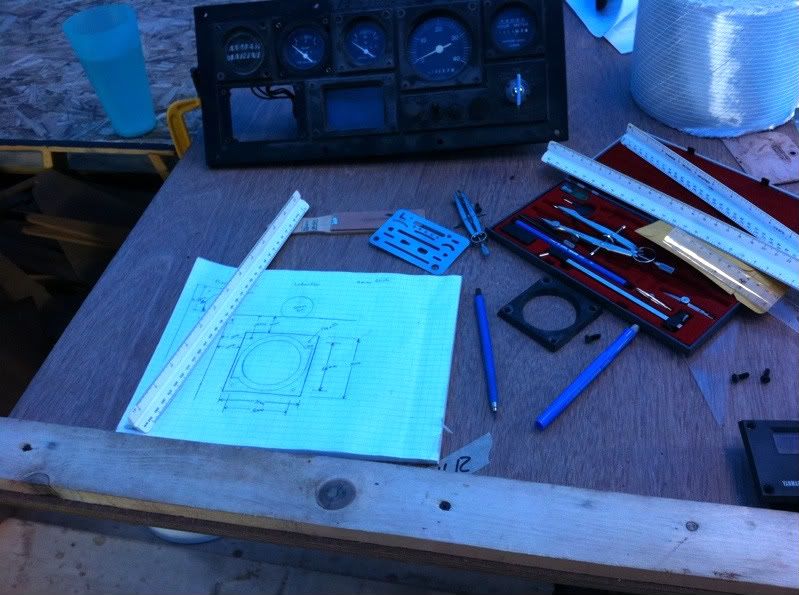
I suppose I could have just put the measurements directly into the CAD program but what the heck, got out the ole' drawin' things and went old school on it. Now I can draw it in CAD and feel confident I got it right (I hope). Standby....
I have to say Mr. Yanmar makes a butt ugly control panel. I know I can do better. (that's the smartass in me coming out, cocky lil' pecker that I am!)
So after an hour of measurin' and figurin' and some more measurin' and then some drawin' I think I got it now.
I suppose I could have just put the measurements directly into the CAD program but what the heck, got out the ole' drawin' things and went old school on it. Now I can draw it in CAD and feel confident I got it right (I hope). Standby....
Shake n Bake
Member
- Joined
- Mar 8, 2005
- RO Number
- 16525
- Messages
- 371
I too have Yanmar diesels. I've made extensive use of this outfit to make all kinds of control panels. http://www.frontpanelexpress.com/index.html
- Joined
- Mar 3, 2006
- RO Number
- 20406
- Messages
- 1,584
That's what I'm working with S&B. I had them cut my electrical panel last winter. I apologize for the crappy picture.

Great stuff but pricey. There's a couple other "Virtual Machine Shops" that'll do similar work.
Great stuff but pricey. There's a couple other "Virtual Machine Shops" that'll do similar work.
- Joined
- Mar 3, 2006
- RO Number
- 20406
- Messages
- 1,584
One of the things about building your own boat is you learn things, fast. For instance, epoxy and fiberglassing. So far the largest piece I've done is probably a seam that's 6" wide by 4' long. No big deal, you're mixing up maybe 3 oz of epoxy to do that seam.
We got to a point last night were we decided to glass the lower part of Frame E. This is the main bulkhead between the engine room and the fwd cabin. We only need to do the lower section for water integrity and structure. It'll be pretty much hidden so we tried some of the really heavy fiberglass I have for the hull. It's a good chance to practice.
This lesson for us was about the ever increasing size, volume and cost if you screw up rules of epoxy and fiberglass. Although not HUGE it's still a couple of square yards.
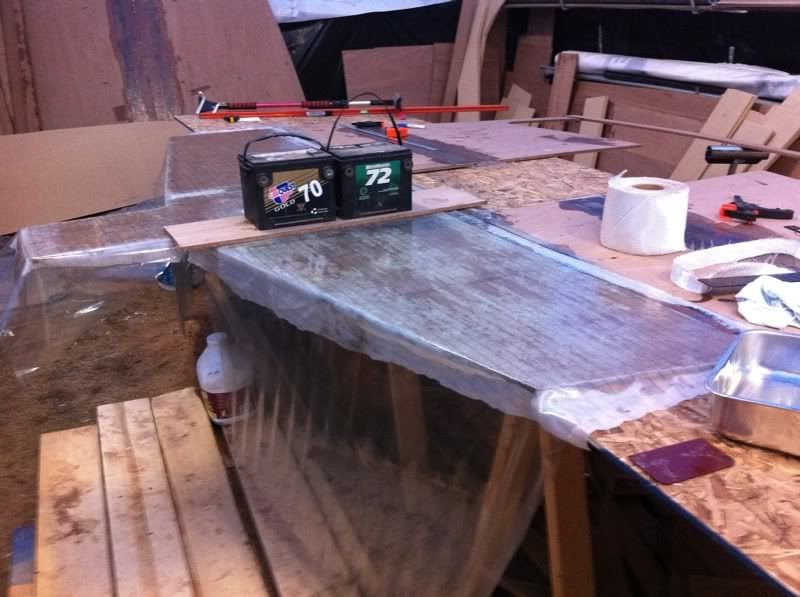
I had to cut the glass from two different supplies. One on a roll I just bought recently and one that was folded in a box I bought a couple years ago. The folded stuff just wouldn't lay down. The newer stuff laid right down and wetted out very easily.
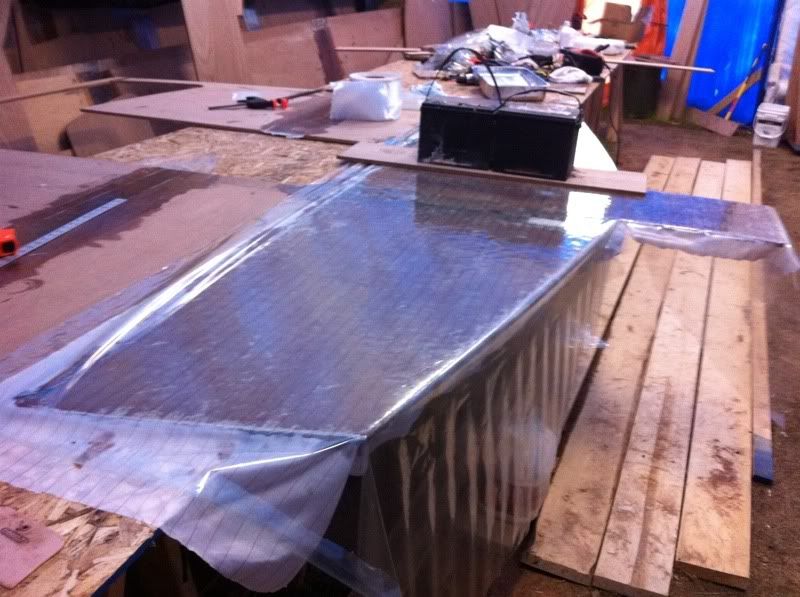
I used the peelply/release film and squeegee technique on this part. It'll save some sanding later on.
Up close both sections appear to be fully wetted out. We used about 1.75 litres of epoxy all together. It was very warm in the shed +30 degs C so we worked in small batches. After measuring and mixing (the Admiral did that part) we poured it into a paint roller pan to increase the area and keep it from kicking off to quickly. The plywood was coated first then the glass laid on top. Once that was thoroughly wetted out with a roller we placed the peelply over top of that and squeegee'd it out. Last step was the release film (in this case I used vacuum bagging plastic but will switch to cheaper plastic from now on). All the bubbles were squeegee'd out and this is the result.
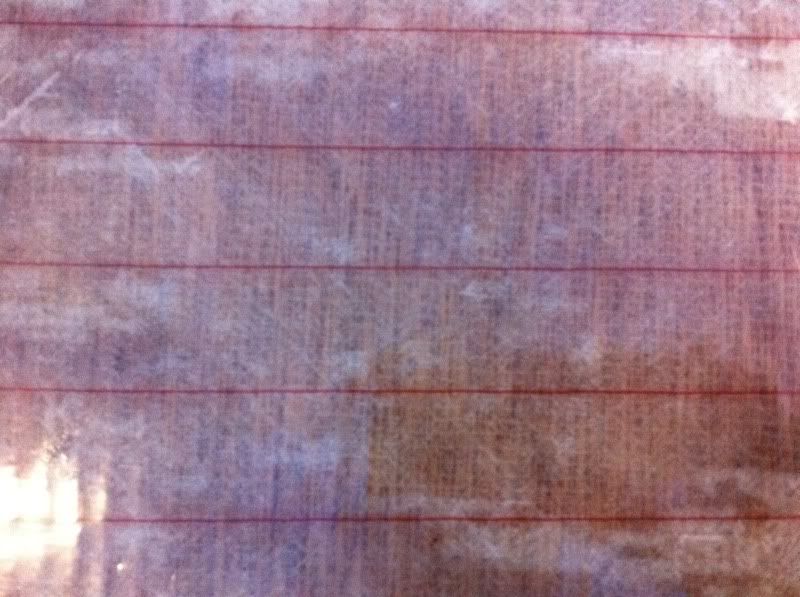
We'll find out how well we did tonight. Standby...
We got to a point last night were we decided to glass the lower part of Frame E. This is the main bulkhead between the engine room and the fwd cabin. We only need to do the lower section for water integrity and structure. It'll be pretty much hidden so we tried some of the really heavy fiberglass I have for the hull. It's a good chance to practice.
This lesson for us was about the ever increasing size, volume and cost if you screw up rules of epoxy and fiberglass. Although not HUGE it's still a couple of square yards.
I had to cut the glass from two different supplies. One on a roll I just bought recently and one that was folded in a box I bought a couple years ago. The folded stuff just wouldn't lay down. The newer stuff laid right down and wetted out very easily.
I used the peelply/release film and squeegee technique on this part. It'll save some sanding later on.
Up close both sections appear to be fully wetted out. We used about 1.75 litres of epoxy all together. It was very warm in the shed +30 degs C so we worked in small batches. After measuring and mixing (the Admiral did that part) we poured it into a paint roller pan to increase the area and keep it from kicking off to quickly. The plywood was coated first then the glass laid on top. Once that was thoroughly wetted out with a roller we placed the peelply over top of that and squeegee'd it out. Last step was the release film (in this case I used vacuum bagging plastic but will switch to cheaper plastic from now on). All the bubbles were squeegee'd out and this is the result.
We'll find out how well we did tonight. Standby...
- Joined
- Mar 3, 2006
- RO Number
- 20406
- Messages
- 1,584
Failure.
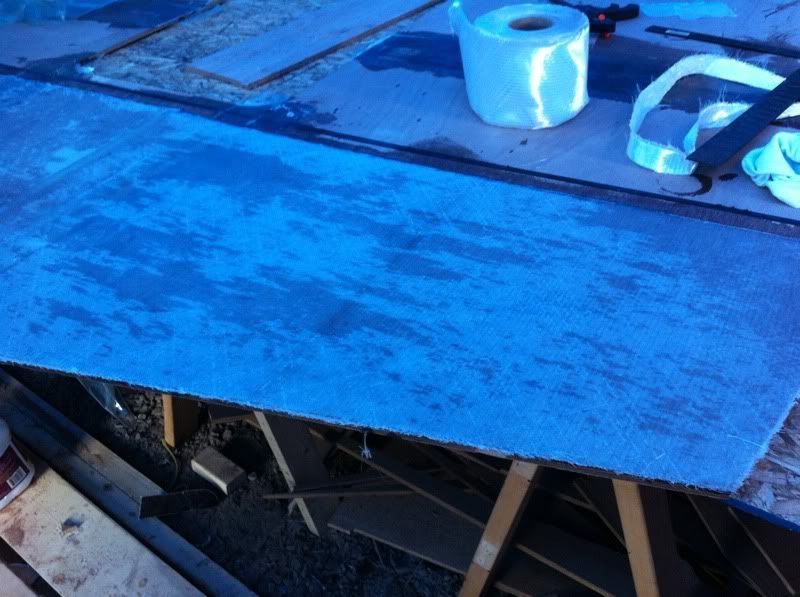
Back to the drawing board.
Back to the drawing board.
- Joined
- Mar 3, 2006
- RO Number
- 20406
- Messages
- 1,584
Nope, no tears Bob. Maybe after I get done grindin' that mess off the panel there'll be some tears. Just a few colorful metaphors were uttered but nothing serious. I kinda half expected something like this to happen. Nothing ventured, nothing gained.
- Joined
- Mar 3, 2006
- RO Number
- 20406
- Messages
- 1,584
Likely a combo of not 'nuff epoxy and the plywood soaking up more than expected. I should have stayed in the shed longer and kept an eye on it. I do know I won't use this heavy fiberglass on the outside of the boat where cosmetics are important. Good lesson learned. I always enjoy quality time with my grinder and belt sander. NOT!
Prospective
Active member
- Joined
- Sep 7, 2006
- RO Number
- 23085
- Messages
- 1,343
Your ambition, perserverance, skill, and positive attitude are a wonder. Keep up the hard work and the posts...
- Joined
- Apr 12, 2006
- RO Number
- 20824
- Messages
- 2,958
quote:
Originally posted by KnottyBuoyz
Likely a combo of not 'nuff epoxy and the plywood soaking up more than expected. I should have stayed in the shed longer and kept an eye on it. I do know I won't use this heavy fiberglass on the outside of the boat where cosmetics are important. Good lesson learned. I always enjoy quality time with my grinder and belt sander. NOT!
Not enough epoxy and or uneven coverage. You can see in the first picture that it was doomed.
- Joined
- Mar 3, 2006
- RO Number
- 20406
- Messages
- 1,584
Thanks Prospective. I appreciate the kind words of support. I really do.
Ambition? Yup, nobody else is gonna do this for me
Perseverence? Yup, the wife tells me I have that too but she uses a different word that starts with "S"
Skill? Not likely.
Positive attitude? Hmmmm? Sorta, but one has to ask one's self: Do you really have a choice at this point in the game? ;-)
Ambition? Yup, nobody else is gonna do this for me
Perseverence? Yup, the wife tells me I have that too but she uses a different word that starts with "S"
Skill? Not likely.
Positive attitude? Hmmmm? Sorta, but one has to ask one's self: Do you really have a choice at this point in the game? ;-)
- Joined
- Mar 3, 2006
- RO Number
- 20406
- Messages
- 1,584
Moving on with more exciting seam taping and gluing.
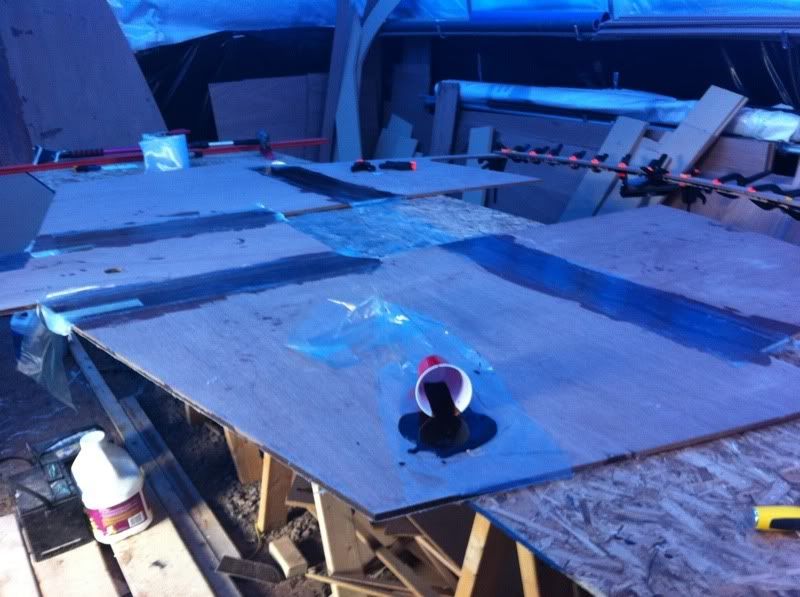
More tomorrow that is if I can get off Wayne's (Carver2557) boat able to stand. Standby.
More tomorrow that is if I can get off Wayne's (Carver2557) boat able to stand. Standby.
- Joined
- Mar 3, 2006
- RO Number
- 20406
- Messages
- 1,584
Ok, let's try this again.
This is the flipside of Frame E, the side that'll face into the head and v-berth. Cosmetics are a bit more of an issue here so we took our time and thought it through a bit more.
What I did....
I saturated the plywood and let it sit for a good 10-15 minutes
laid the cloth out and thoroughly soaked it with epoxy working from the center outwards
placed the peelply on top and again worked it from the center outwards
I had plenty of epoxy dripping from the edges this time. The peelply shows me where there are dry spots which I can easily go back and add some more epoxy. There weren't many this time. I decided to leave the plastic film off to see how it works without it. I guess that's just an old habit.
Port side, it's the opposite side here that caused the problems before. None this time. This side is also glassed up to the bottom of the window frame because this is where the head/shower will be.
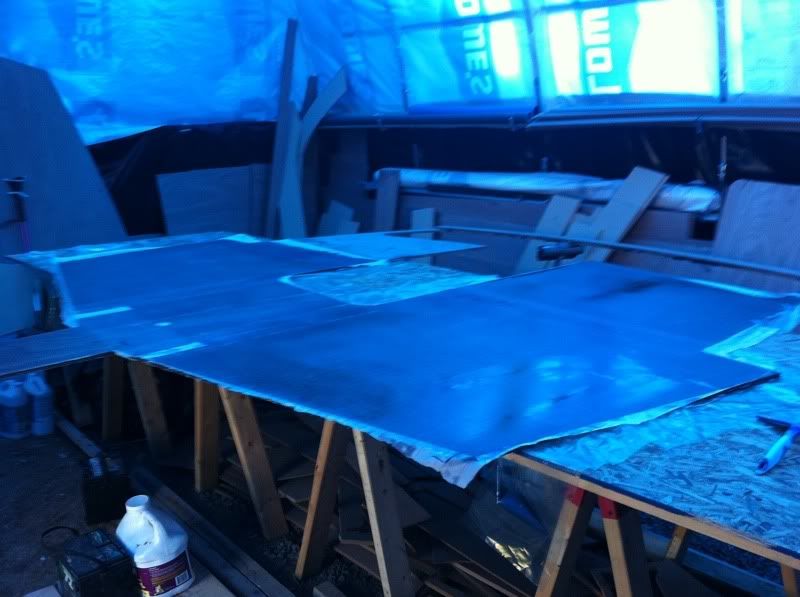
Up close port side
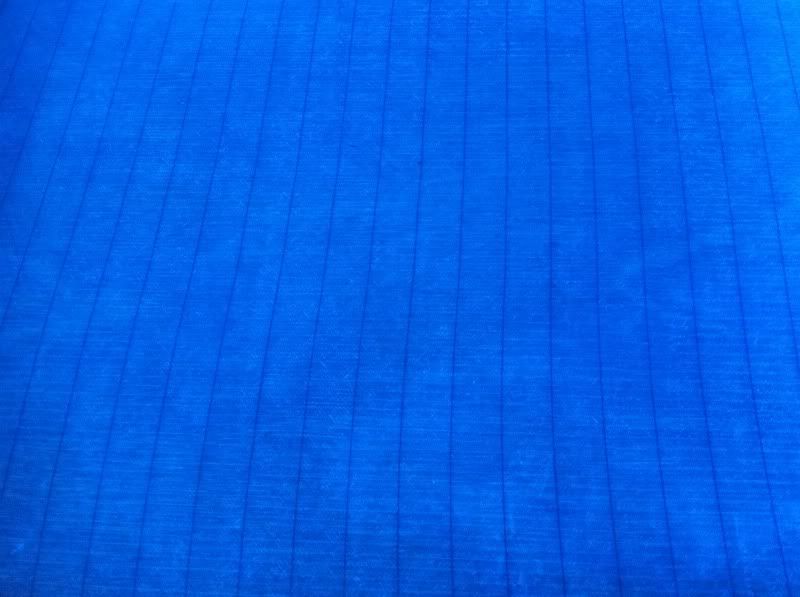
Stbd side, not one bubble in sight.
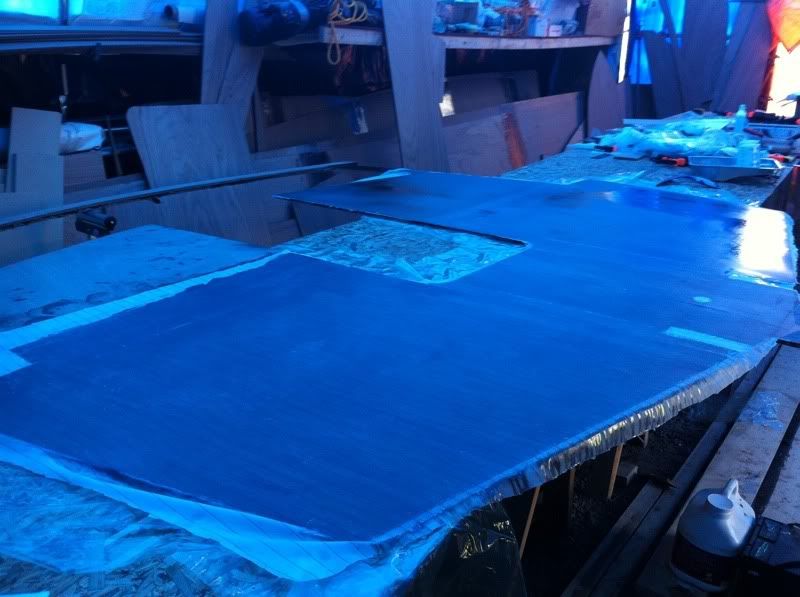
Up close stbd side
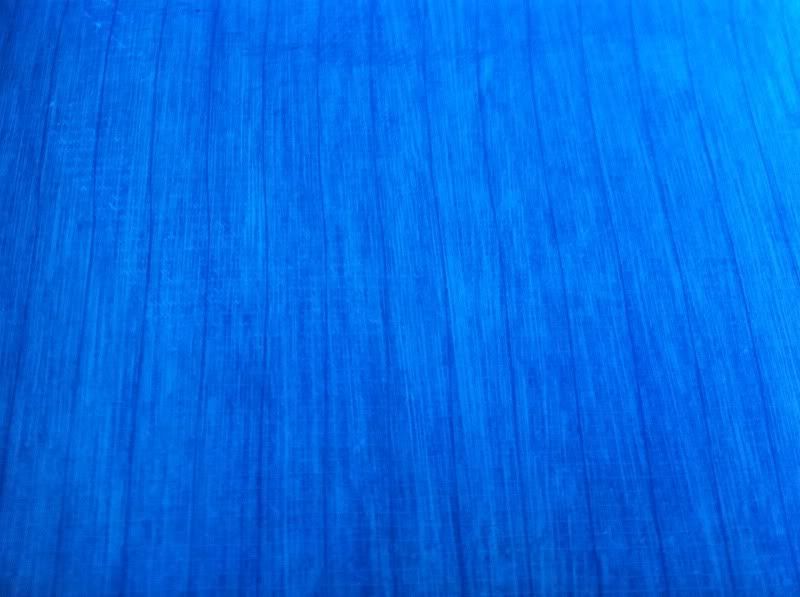
We'll pull the peelply off tomorrow and see how we did.
This is the flipside of Frame E, the side that'll face into the head and v-berth. Cosmetics are a bit more of an issue here so we took our time and thought it through a bit more.
What I did....
I saturated the plywood and let it sit for a good 10-15 minutes
laid the cloth out and thoroughly soaked it with epoxy working from the center outwards
placed the peelply on top and again worked it from the center outwards
I had plenty of epoxy dripping from the edges this time. The peelply shows me where there are dry spots which I can easily go back and add some more epoxy. There weren't many this time. I decided to leave the plastic film off to see how it works without it. I guess that's just an old habit.
Port side, it's the opposite side here that caused the problems before. None this time. This side is also glassed up to the bottom of the window frame because this is where the head/shower will be.
Up close port side
Stbd side, not one bubble in sight.
Up close stbd side
We'll pull the peelply off tomorrow and see how we did.
- Joined
- Mar 3, 2006
- RO Number
- 20406
- Messages
- 1,584
At near 100 degs in the shed it didn't take long for the poxy to kick over and harden up.
Result? Absolutely flawless! ;-)
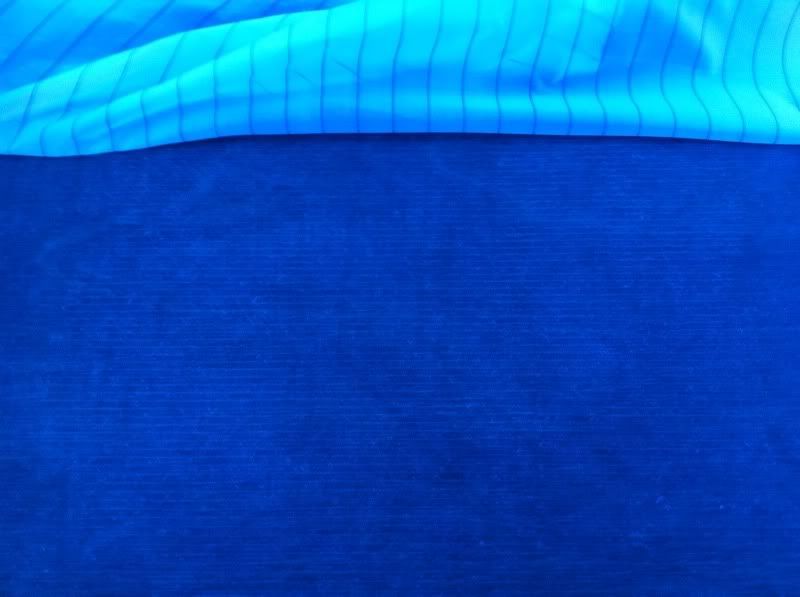
I apologize for the crappy picture. That's the best my iPhone will do and I'm having trouble hooking it to my laptop so I couldn't Photoshop it at all.
Result? Absolutely flawless! ;-)
I apologize for the crappy picture. That's the best my iPhone will do and I'm having trouble hooking it to my laptop so I couldn't Photoshop it at all.