For anyone who's built their own boat....

cut2sizemetals dot com

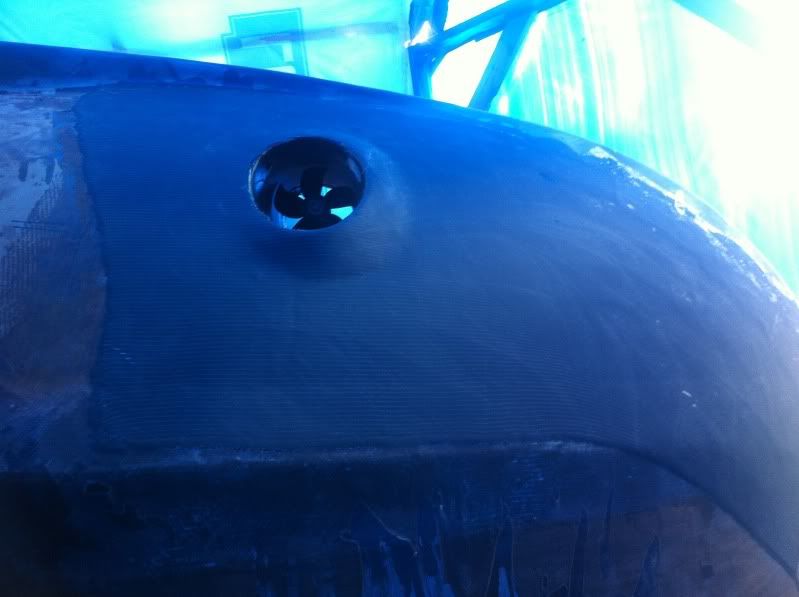
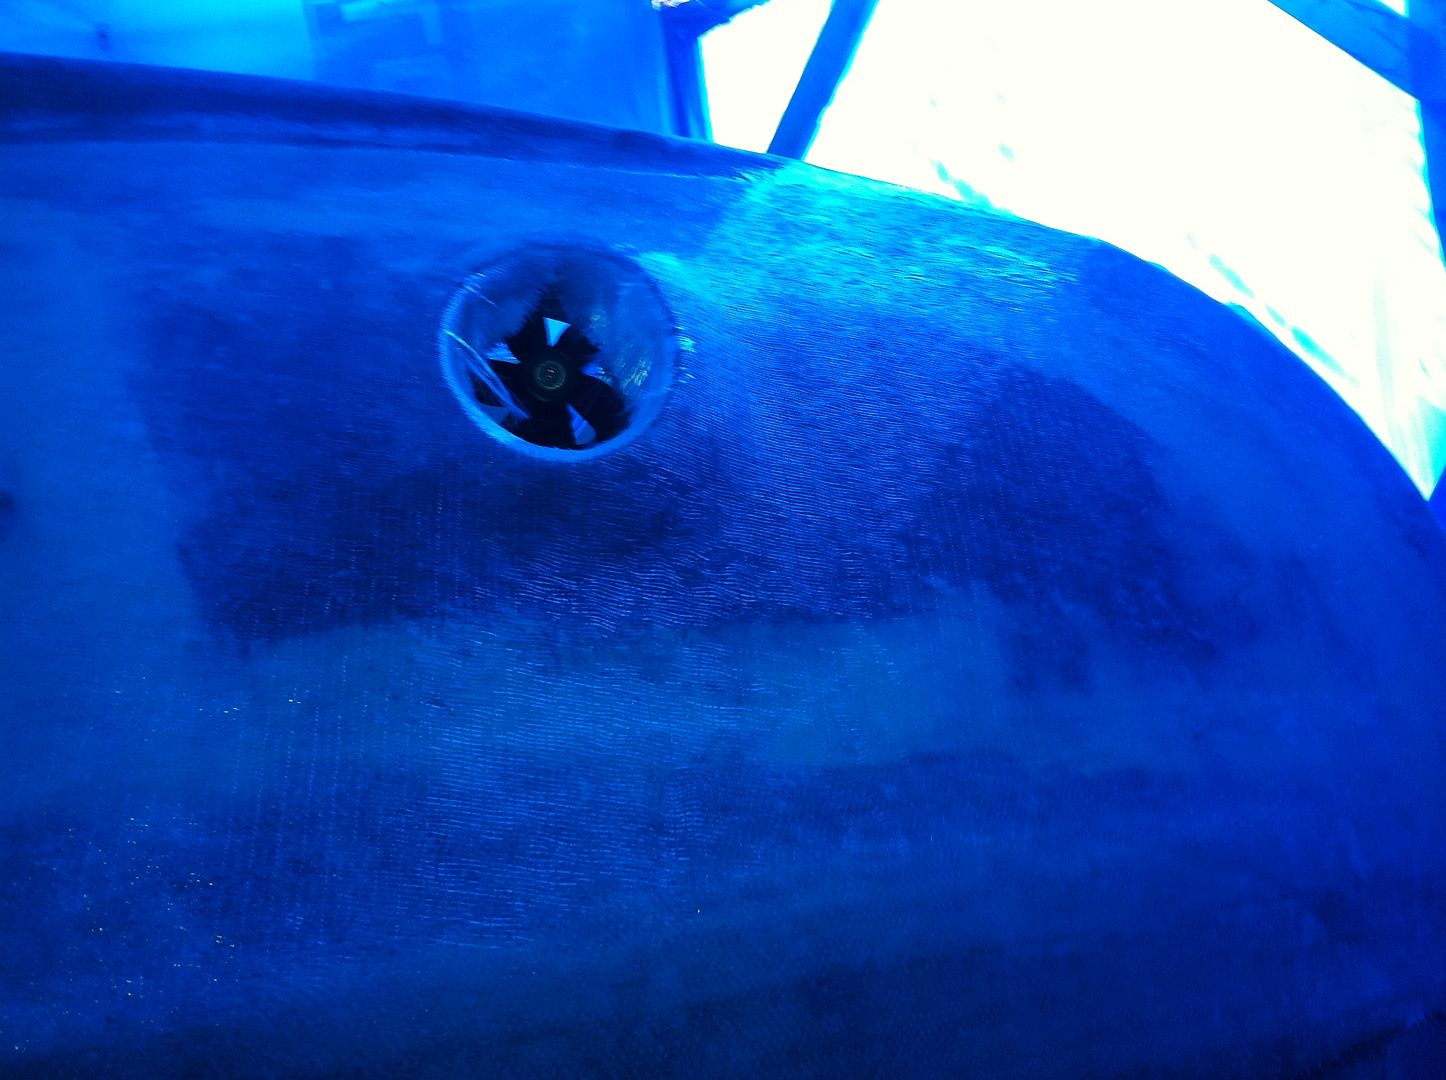
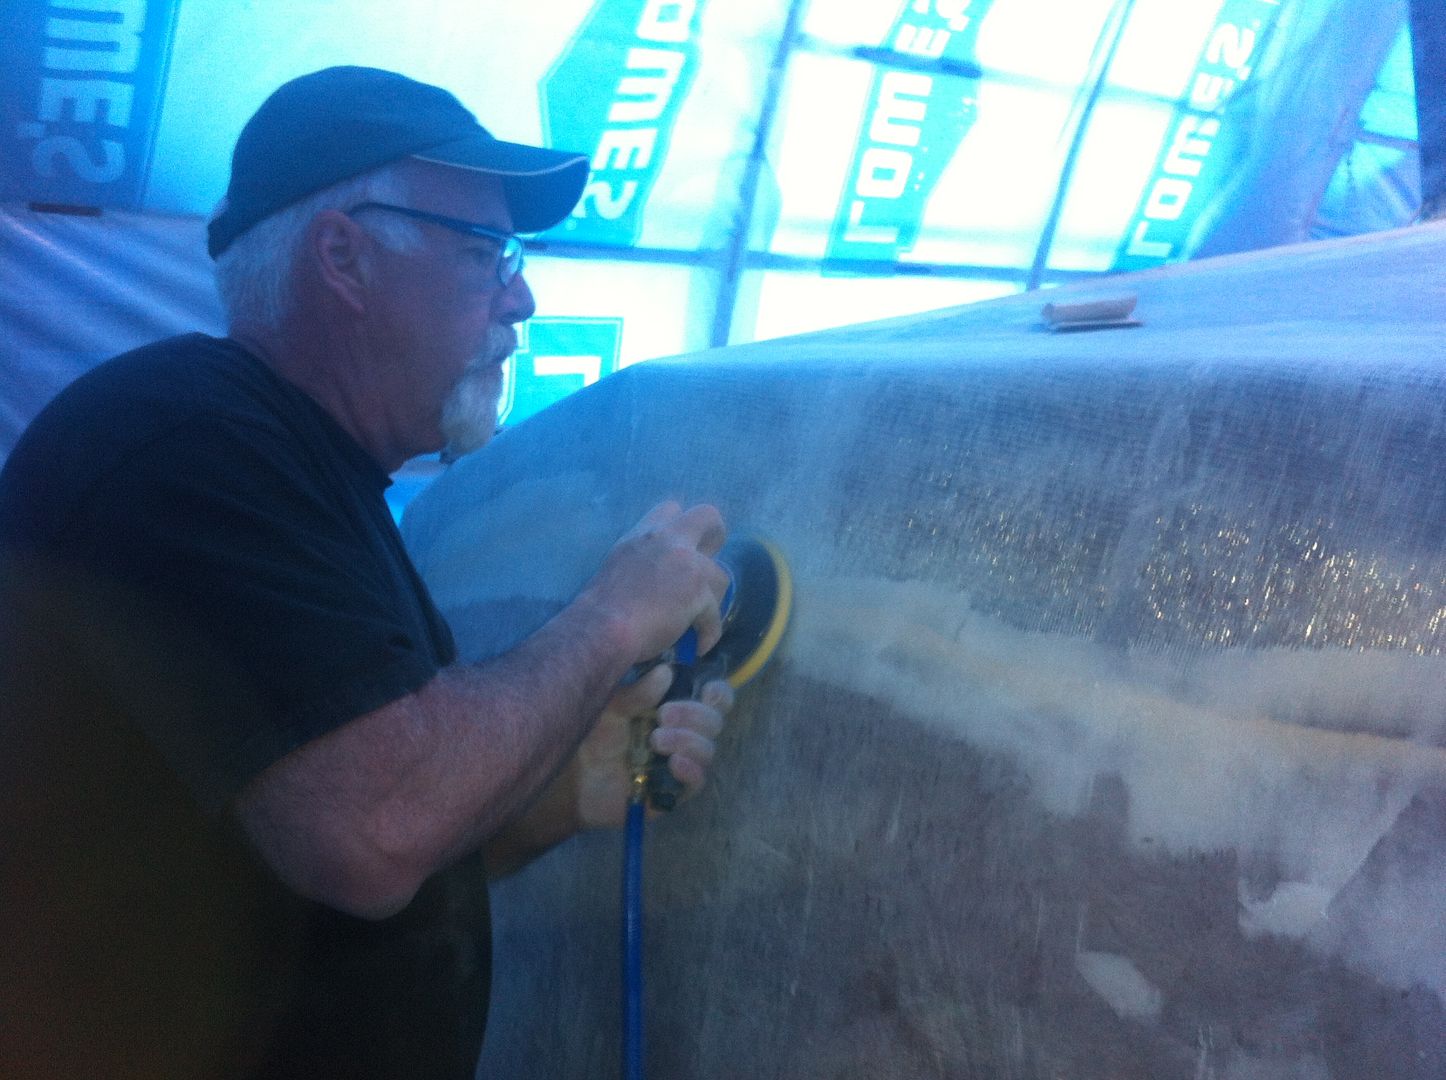
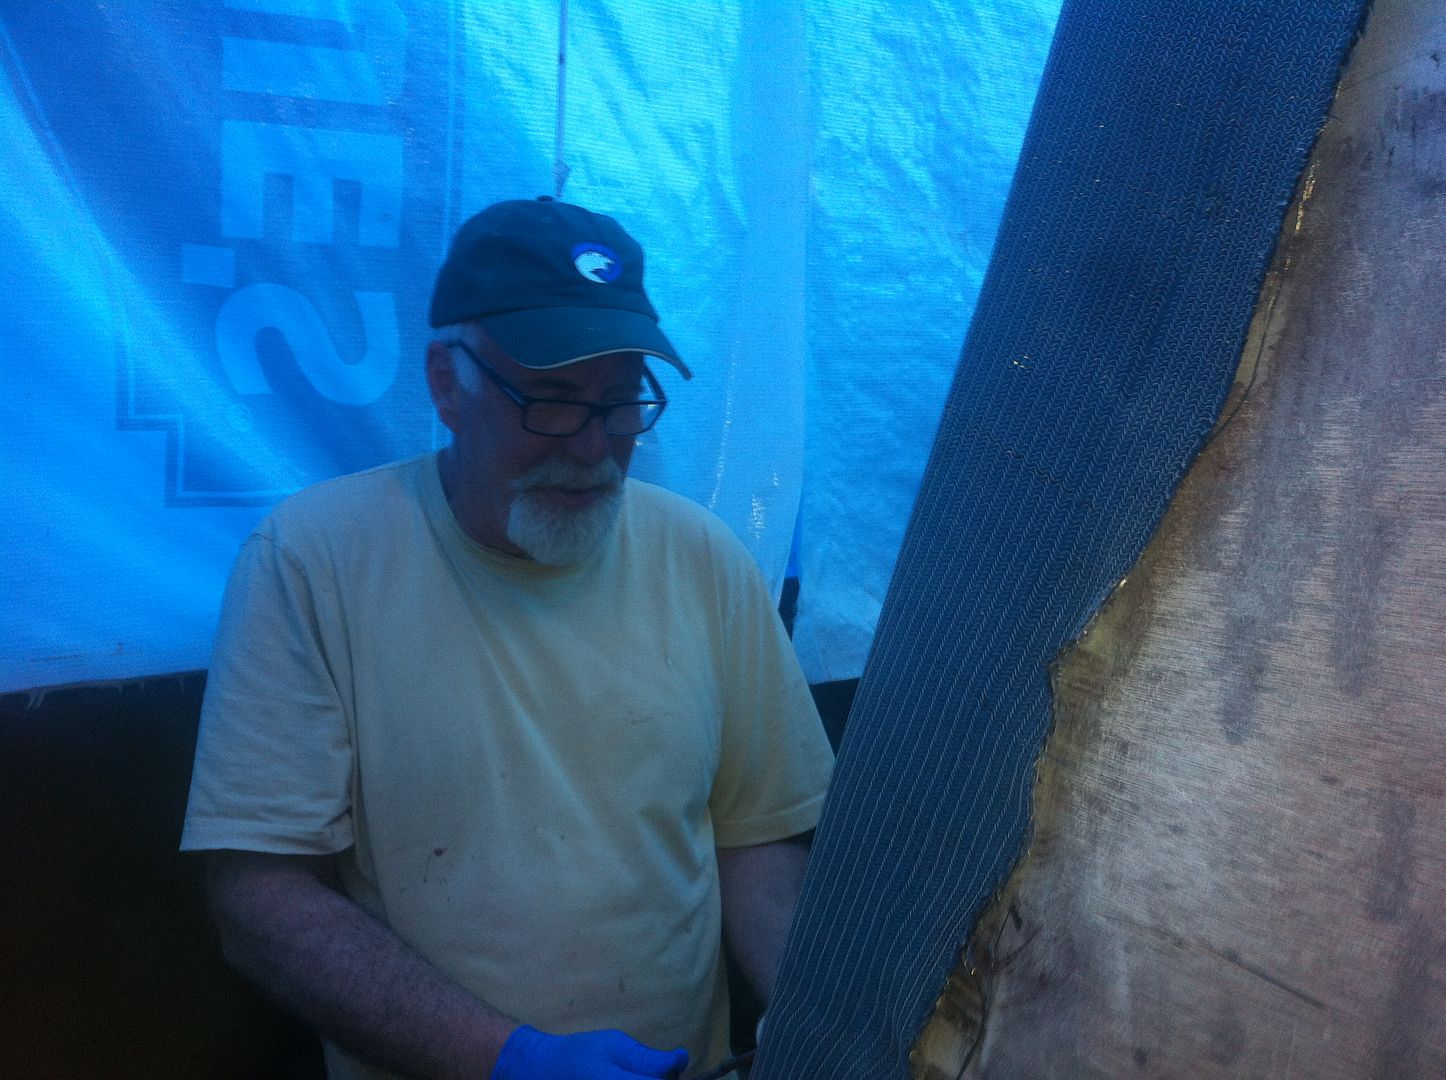
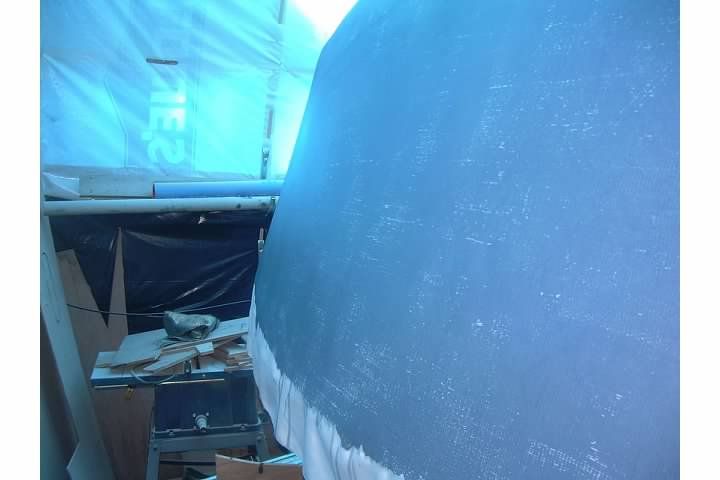
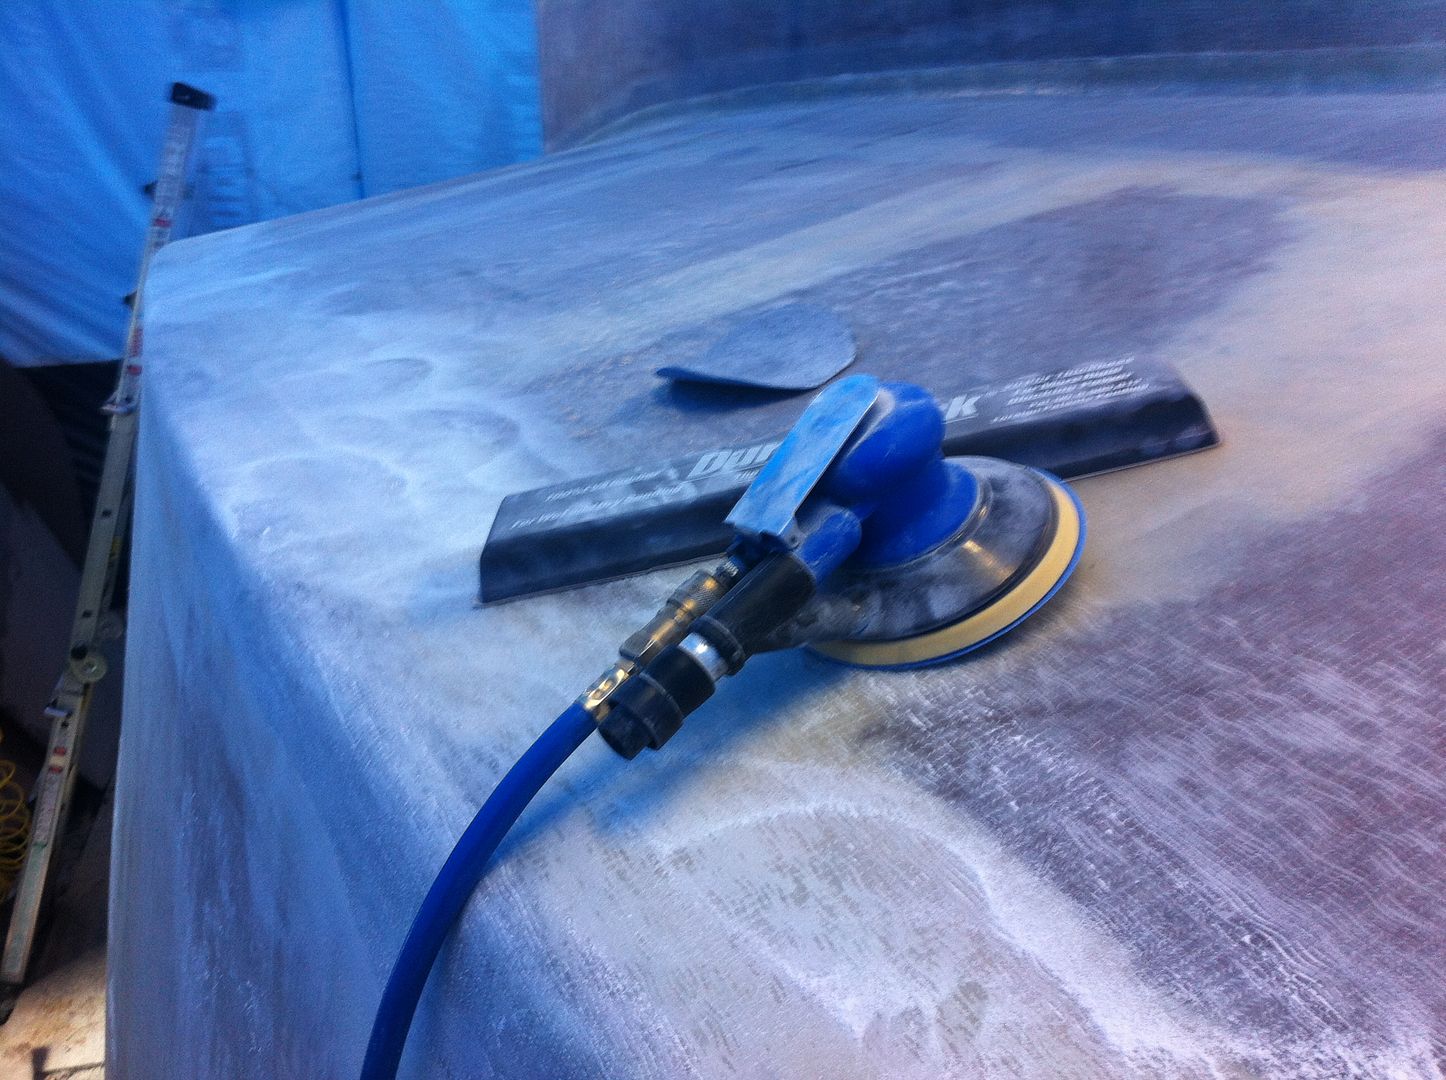
IMO the idea is to prevent impact damage to the FG keel. One piece may be preferred but smaller section should work too. I don't know how thick it should be but go look at scrap dealers and you might find something useful.
 
I'll have a look to see what I can find Bruce. Thnx.

Here's a pic of today's efforts. Doesn't look like much but there was a good 4 hrs of sanding and wiping to prep the surface for the fiberglass. It'll likely take me another 11 hrs to do this side. Thursday or Friday I'll get to that.

null-3-2.jpg
 
To shoe or not to shoe depends in how and where you re going to use the boat...are you really going to beach a 28' trawler on a rocky beach?
 
quote:

Originally posted by PascalG

To shoe or not to shoe depends in how and where you re going to use the boat...are you really going to beach a 28' trawler on a rocky beach?


Hey Pascal. Thanks for looking in.

That's true and for us this boat, hopefully, will carry us into your backyard someday. Around here the biggest hazards are floating or nearly floating debris in the St. Lawrence. Stuff like picnic tables, trees & partially submerged docks etc. It's worse in the spring.

We usually keep to the deep water whenever possible. I'm not that adventuresome that I need to know where every little creek or backwater goes. I once beached (unintentionally) our 25 footer. The depth sounder on the transom showed 75 feet of water and the bow was aground. That's the 1000 Islands for ya! :-)
 
I think floating debris will cause damage at the bow near the water line or on the hull, I won't lif it can hit the bottom of the keel. On the plus side, adding a SS plate will also add weight to the keel and help stability..
 
quote:

Originally posted by PascalG

I think floating debris will cause damage at the bow near the water line or on the hull, I won't lif it can hit the bottom of the keel. On the plus side, adding a SS plate will also add weight to the keel and help stability..


Exactly. I added a layer of Saertex (quadaxial carbon fiber) on the bow area where we'd likely sustain any damage.

fb184e42.jpg
 
Nobody intends to hit rocks but if you boat in an area with rocks eventually you will.
 
Well I don't do much boating in areas with rocks but have cruised the NE for a few weeks over the last few years and have come to the conclusion that rocks don't pop up :). They are all well charted, marked, buoyed, etc. so I find it easier to deal with than sandbars, shoals etc which can shift quit a bit

Obviously though, when you find one it will hurt a lot more than mud!!
 
Big difference having an extra set of hands mixing the epoxy!!! My buddy Andrew N came over and gave me a hand today. Start to finish took 6 hrs. I was able to spend more time fairing out the tape seams which helped a lot. There's virtually no bubbles in this side.

null-6.jpg


The differences this time were:
1. Extra hands mixing so I didn't have to sprint up and down the ladder to mix my own
2. Warmer. About 70 degs F which is ideal for this type of work
3. Spent more time on details and was able to bust bubbles as I went
4. Wasn't rushing to get it done before I collapsed

null-3-3.jpg


I'll have to check but I think we used the same amount of epoxy. I stuck with the smaller roller this time. It worked fine and allowed me to get those nasty little bubbles as I went. So that's layer 1 on the bottom. I've got 3 more to put on the keel then the 10 oz on the bottom. I'll likely do a little fairing on this layer before I put down the 10 oz. There's also some more carbon fiber to go on the chines.

Shower time!
 
12+ hrs of sanding the last two days. Tomorrow I'll finish that up and prepare to hang the glass on the sides and transom. My buddy Peter is coming on Wednesday to help with the glassathon. You might recall Peter launched his Bolger Windemere last year.

turtlebay.jpg
 
Spent a good chunk of the weekend with the sanders preparing the sides for glass. We'll be hanging and gluing down the glass on the sides and transom tomorrow.

The heavy fabric leaves such a large hard edge they have to be faired to prevent bridging when the next layers are put down.

null-7.jpg


This fairing will get a quick sanding before the glass goes on. Hopefully it'll prevent a lot of bubbles in the layup.

The old boat shed will be a flurry of activity tomorrow! [:-bouncy]
 
I'd have to say that Peter is a much better conversationalist than the cats who usually hang out with me in the boat shed!

null-2-7.jpg


Here's the Lenihan in his native environment. I really think he's missed sanding since completing his own boat. He didn't even bother to change out of his street clothes before he went right to work!

Enamored with my air sander he pointed out all the oversights in my own sanding. Aye, Master I am still but a grasshopper!

30 Second Video Clip

http://s237.photobucket.com/user/KnottyBuoyz/media/KBIII/9F4E9E0D-FE5B-4AD6-A598-81F58E9031D2-2425-000004901BC5605D.mp4.html

I had ordered 25 yds of 1808 biaxial fabric for the sides and transom. Well, as you can likely guess the roll was 1 1/2 yds short so after cutting the two sides off the roll there wasn't enough for the transom. Plan B called for some 22 oz Basalt fabric I had on hand. It looks a lot like carbon fiber but is more like glass. Lighter and stronger and workable just like fiberglass.

null-4-3.jpg


Peter was a little unsure of this new material, the dark color doesn't show you when it's wetted out properly. Call in the Peel Ply.

ry3D480.jpg


For those of you not familiar with peel ply it's a nylon (or other synthetic fabric) that is laid over top of the fiberglass (Basalt) and squeegeed out. It will reveal areas where more epoxy is required. When cured the fabric is pulled off (peeled) which leaves a sharp textured surface that's ready for painting or whatever without sanding.

So it was a good day in the boat shed. Didn't get all done that I would have liked but it's quality work and there was some good conversation. Doesn't get much better than that!
 
Was working along sanding the edges in prep for the side cloth. It's hard getting rid of the shiny areas the 33 oz fabric leaves such a deep and course texture. A few more hours and it'll be ready.

null-3-6.jpg


It was going fine till the monsoons hit. Something caught the corner of my eye and it was a paint bucket floating around in circles under the boat!

Back at it when it dries up a lil' bit.
 
I so enjoy your pictures and narrative! I know absolutely nothing about building a boat, so your detailed explanations are very useful. Thanks so much for sharing this with us!!!
 
You're welcome Flutters. Stay tuned.

I'm a little pooped so I'm gonna take the easy way out and just tell you I updated our blog today.

del/2013/05/freakin-brrrrrrrrrr.html

Standby...
 
Port side fiberglass hung and ready for epoxy. It's 33' 8" long including 4" overlap on each end.

Looking forward

null-3-8.jpg


Looking aft

null-2-11.jpg


Looking forward from the transom

null-4-5.jpg


Gonna be a sticky ole' time in the boat shed tomorrow! :-)
 
Uncle & I coated a Cedar Skiff with that stuff when it first came out (to us anyway) back in the 50's.

Seeing you work so hard sanding down those big goobers made me think of our determination to finish that little 12' lifetime of work.
My question is why the big Goobers? Is it something you get stuck with because the Job is so Huge?

I learned about them Goobers quick, about the second time, that I was gonna have to sand them down if I left them?
I got kinda tired of rolling and rolling to get the Goobers out but I did it because I didn't want to sand them down even worster!
And that was just a 12' skiff!

Watching your progress is bringing back some old memories. Boy that's a big job. I wish I lived closer, I'd be over there helping you.
 
Hey Thud

You mean the epoxy runs and dingleberries? Yeah I spent a good few hrs sanding them all off. My own mess and just plain ole' laziness. When I catch them I try to roll them out. Won't have to worry too much about them from now on. I'll be covering the sides with peel ply this time.
 
Heck, just update your b log and post the link.....no sense duplicating things here. You've got better things to do with your time!!!

Carry on!
 
Time I got Flutters. I don't mind posting to the forums. The blog sometimes contains more or less info depending.

This mornings task was to build a carrier for my vacuum generator.

null-3.jpg


This will allow me to fix the small bubbles in the laminate. I'll drill two holes into each bubble and apply vacuum to one and pour some epoxy into the other. The vacuum will pull the epoxy through the bubble filling it up. I'll give it a try this afternoon.

Yesterday I hung the glass on the starboard side.

Bow looking aft.

null-3-9.jpg


and aft looking forward.

null-4-6.jpg


It's a lot tighter on that side of the shed so it's hard to get a good pic. I wish I had another foot on that side. It'd make life a lot easier.

For those of you that may have missed it the URL to our blog is .... del/
 
Back
Top